Many websites and templates don't have a basic 1 pixel black line border around it anymore because it is boring. When designers make a template, they want it to be exciting, cool looking, and often tech-like. One way to achieve that is though the borders of a layout, I am going to share with you an easy, yet limitless way to create them.
Keep in mind borders can be on the left side, right side, the top, bottom, etc. They can really go anywhere you'd like. For this tutorial I am only going to be making them for a left side of a template.
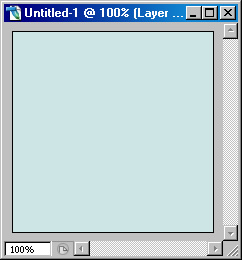
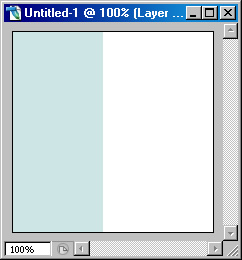
1. Lets start off with a 200x200 Canvas and set the background as a very light blue. I chose #cfe6e6.
2. Create a new layer set as white for where the content of a website would go. Name the layer "content box". The border with go to the left of this chunk. Make it looks something like what I have below.
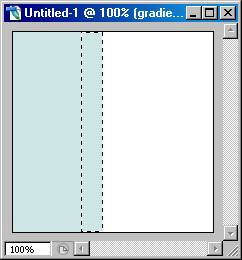
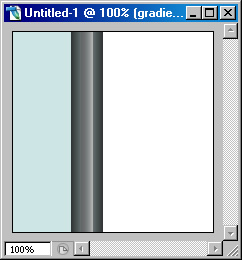
3. Now we can start with the border. Create a new layer called "Gradient 1". And make a selection like shown below.
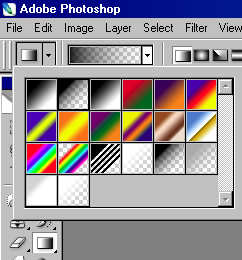
4. Select the gradient tool. Press "D" to set your foreground color to default as black. Choose "Foreground to Transparent".
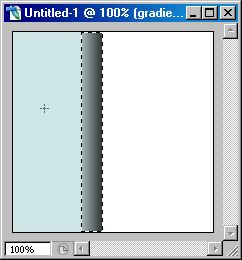
5. Draw a gradient from right to left on the outside of the current selection so you get something like shown below. This may be tricky if you are new with the gradient tool. But it really doesn't matter how much yours looks like mine because the end result of this tutorial will never be the same.
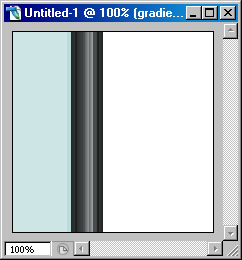
6. Keep the selection. Create a new layer called "Gradient 2". And press "X" on your keyboard to set your foreground color to white. With the selection still there, do a similar drawing of the gradient, but this time from left to right. Make sure your gradient ends near the middle of the selection. Change "Gradient 2" to the blending mode "Soft Light". Merge the two gradient layers by selecting them both and pressing Ctrl+E (its fine if it looks slightly different when you merge them). By this point, if you have been able to keep up, then you will be fine from here.

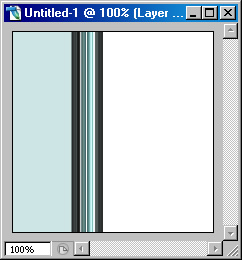
7. Next, rename the layer you have to "Gradient". Duplicate the layer, press Ctrl+T, right click on it, and choose "Flip Horizontal". Shift the new one over to the right about 10 pixels. Merge the two back together again.
8. Now, yet again, duplicate the layer. Go to Filter>Pixelate>Fragment. Change the layer's blending mode to Overlay.
9. Now, its time to follow the instruction on your Shampoo bottles! Lather, Rinse, and Repeat. Basically, continue doing the same types of things I've already shown you for a few minutes longer until you get something cool. Here are some things to try.
- Make new gradients with random colors.
- Merge layers.
- Flip them horizontally.
- Change the blending modes.
- Add random filters.
- Nudge the pieces to the left and to the right.
- Don't let it get too wide, but don't forget to be random.
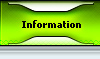
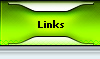
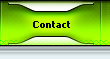
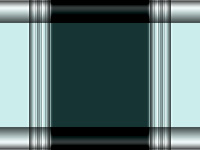
Just so I don't leave you hanging, I'll show you something I made using the same techniques I just listed to show you the potential here. As well as another random creation that will hopefully inspire you.
Alright, so all you have to do is keep messing around with all the steps I gave you until you make something you are happy with. Start looking around and you may see other templates that use something similar to this. Hopefully you apply what you have learned to your websites, it will definitely give it much more depth.
This tutorial is copyrighted and is owned by Tim Silva. You may not reproduce, copy, or use it (or it's pieces) under any other website without my consent to do so.
|